


Dean Hedin
Active Member
It all started out when my brother looked at my tires a few weeks ago and said "You know..those tires are not going to make it through the winter." Thus began the quest.
I had been reading on various forums about some re-tread tires from a company called TreadWright. They have these nice M/T tires called "Guard Dogs" that have been well reviewed. I was getting tired of the stock 235/70-16 tires. They just don't seem to absorb the bumps in the road. Around me they are doing all sorts of road patch and repair. The uneven road surface and the puny tires were really getting to me.
Time to supersize it. I also think this upcoming "El Nino" event is going to really lay down some snow in the Northeast this year. So I ordered qty 5 of the Guard Dogs in the 265/70-16 size. Load Range D. $90 a tire plus $20 shipping for each tire. I looked at new m/t tires but they would have cost at least $150 a tire + shipping.
However, my original wheels are going on 13 years. They have corrosion spots all over them. So I decided I would refurbish them. My only problem is that my Trac is my daily driver. I can't work on the wheels and drive to work at the same time.
So I got clever. Why not buy a set of used rims off of Craigslist? Refurb those rims, and then mount the new tires. I could then sell my old rims and tires back on Craigslist! That was the plan and it played out beautifully.
I bought a set of four rims for $130 on Craigslist. I actually had to get them a pair at a time from two different sellers. When all was done, I sold my old wheels and tires for $125!
So lets look at what it took to do all of this...
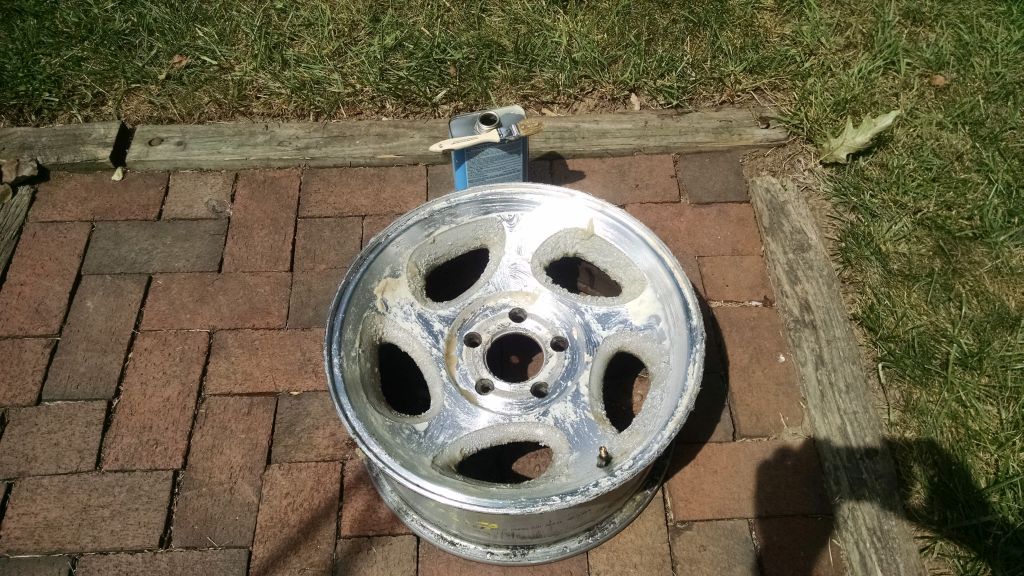
First, Strip the old clear coat from the wheels. Ordinary furniture stripper won't work. You will need two quarts of the "KleanStrip Aircraft Stripper" (I bought from PepBoys). Takes it all off in about 5-7 minutes...
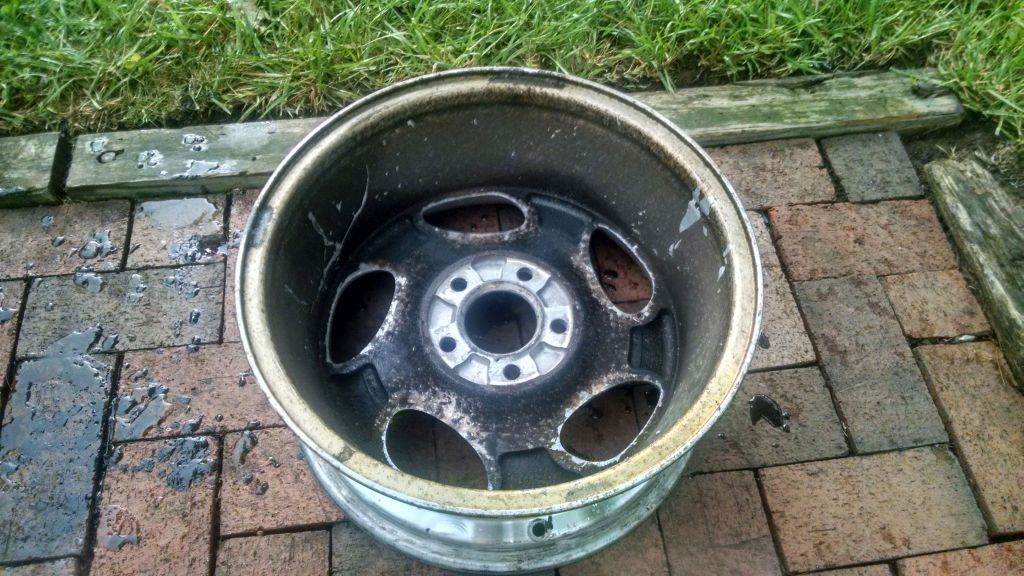
The stripper will also remove all the tar and other gunk from the backside of the rim. Here you can see how bad the original rims looked and some of the remover splashed and removed it.
After stripping, you will have to remove any visible corrosion. I used a small wire wheel on a Dremel tool. All the corrosion was localized where you expect, where the rim weights were mounted and around the "eyes". You want to keep the rotation of the wire wheel "inline" with the machining of the wheel surface. None the less, we still have cut through the natural oxidation of the wheel (which leaves quite an eyesore). We have to deal with this by buffing which follows shortly.
I used Mother's aluminum wheel polish. One bottle purchased from WalMart did all the wheels with plenty left over. Figure about 35 minutes buffing each wheel. Your mileage may vary. I am using a Harbor freight buffer with a wool wheel. Again - keep the rotation "inline" with the original machining. You may have several rinses, inspections, and rebuffs. I took my time and did this after work, over the course of a week. No need to polish the back sides of the wheels.
Rinse the polish off and "Bling". As soon as you do the rinse dry the wheel off with some rags. Otherwise the the raw exposed aluminum will get water spots on it if left to dry on it's own. After they were dry I clear-coated with Duplicolor's wheel clear-coat (also from Pepboys - I think I used three cans).

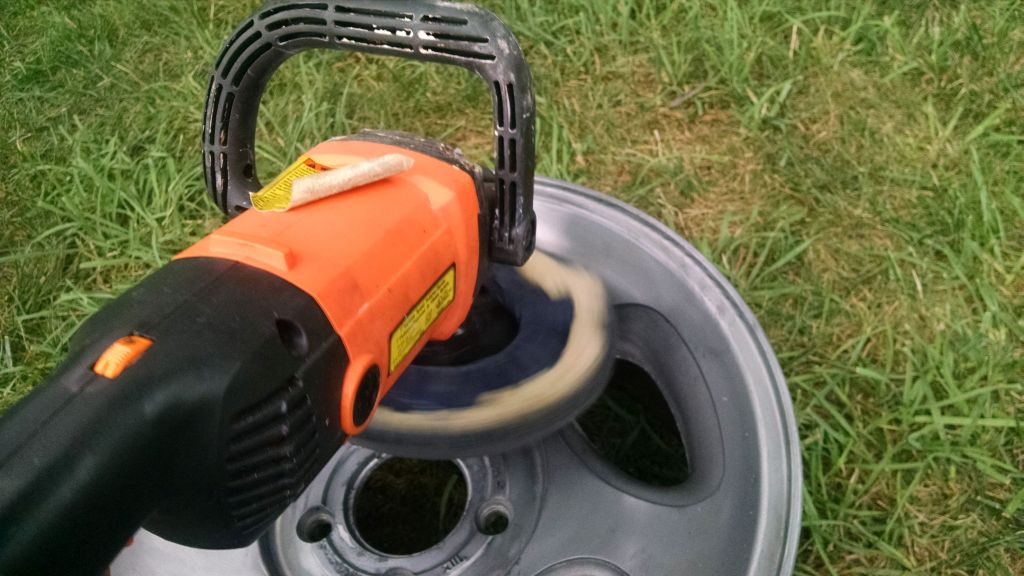
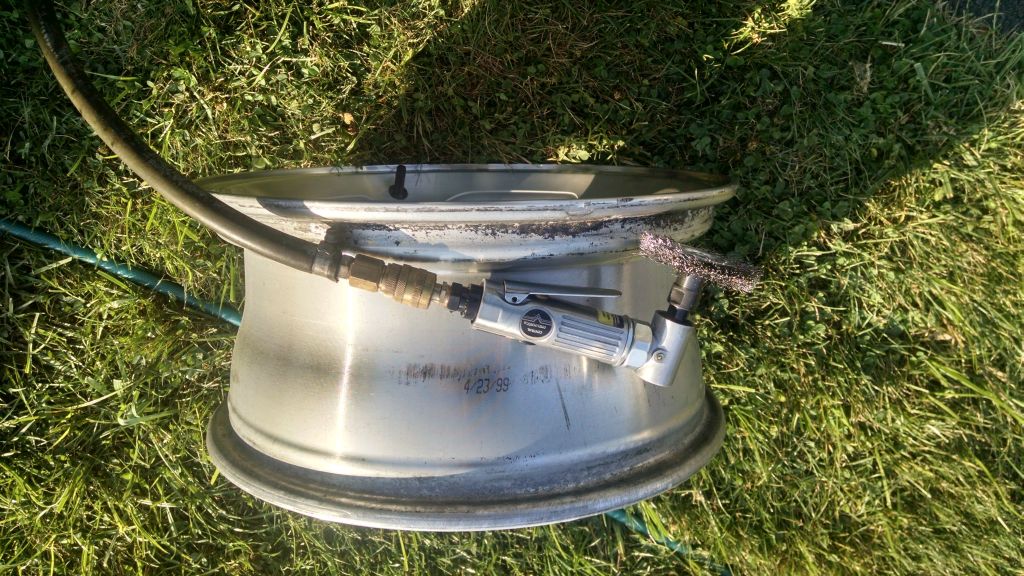
Remove the tire crud and stuck rubber on the inside of the rim - otherwise they could leak air. It is not recommended to put a wire wheel on a die grinder like this (rpms well exceeded) but it sure makes short work of this job. Always wear safety goggles if you want to play this game!
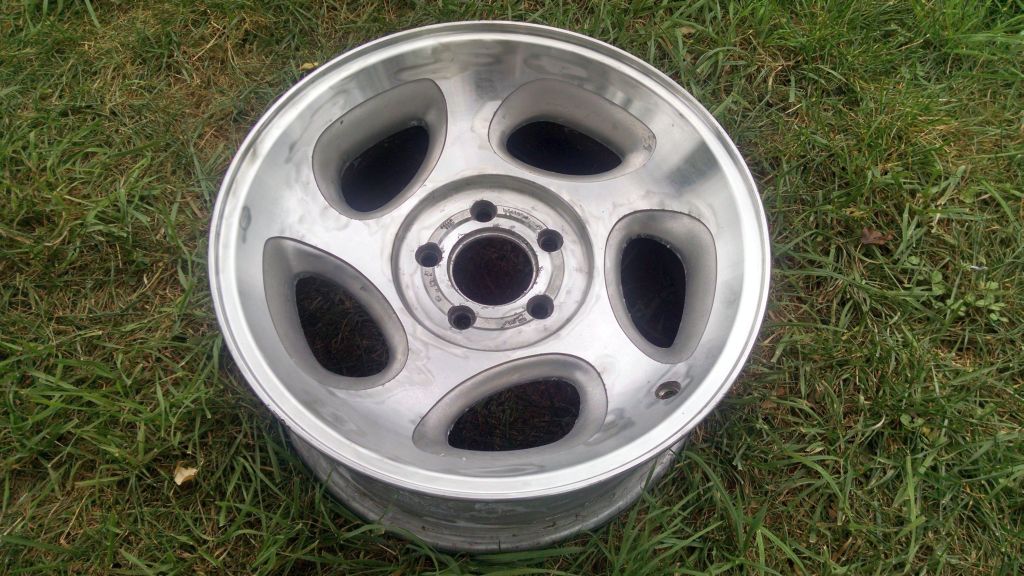
Here's the results. Quite an improvement I would say.
Four wheels ready to go. New valve stems (also from PepBoys) easy to install.
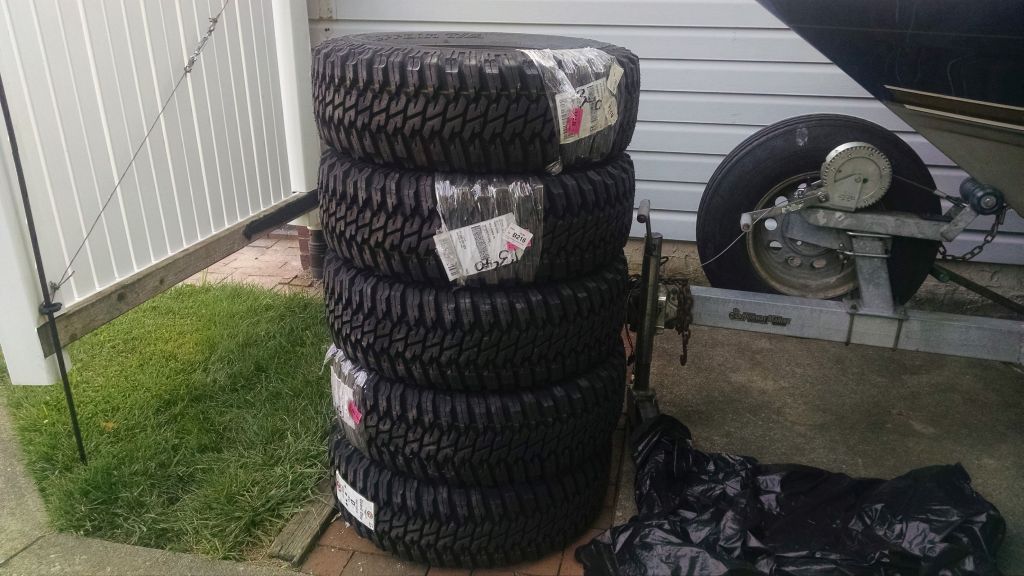
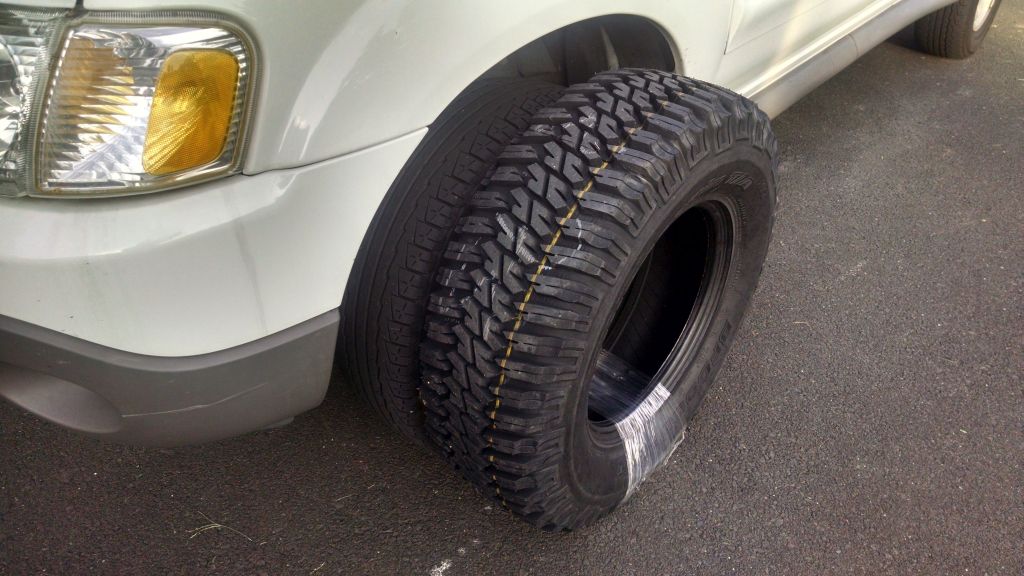
And the Guard Dogs wait impatiently. They are pretty nice. The carcasses are BF GoodRich T/A KOs. The tread depth is almost 3/4 of an inch. The parting line between the tread and the carcass is visible, but if you didn't tell me I would have never known they were re-treads.
And we are really going to super size...
The Guard Dog instructions indicate "Static Balance Only". OK then. I decide to mount and balance the tires myself. I buy the Harbor Freight DIY tire mounter and balancer for $35 and $70 respectfully. Heck - any tire place would have charged at least $60 to mount and balance the tires anyhow - Now I can do it forever. Plus I don't have to listen to their BS about fitting larger sized tires. As it turns out, I need these tools for another vehicle as well (Old sports car with wire wheels). Plus I can use the stick on weights on the inside of the rim. No more scratching the nice rim with the edge weights.

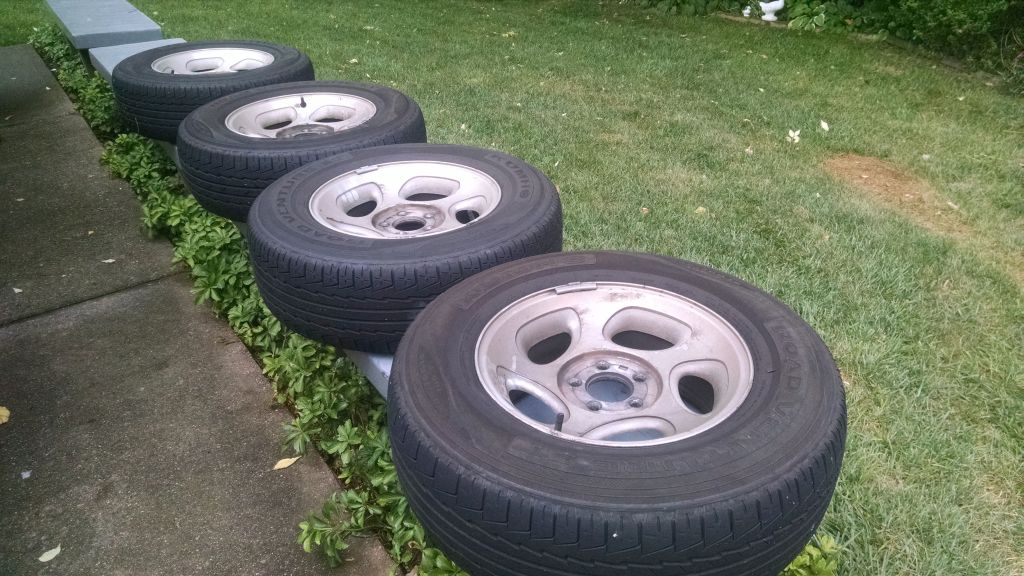
The old tires and wheels get sold away on Craigslist for $125 to an Explorer owner on a budget.
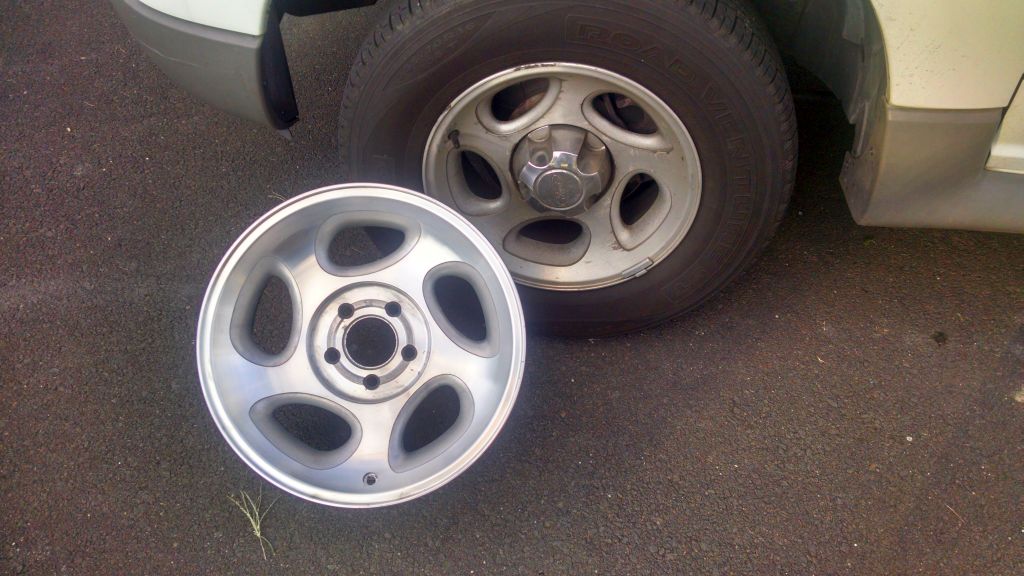
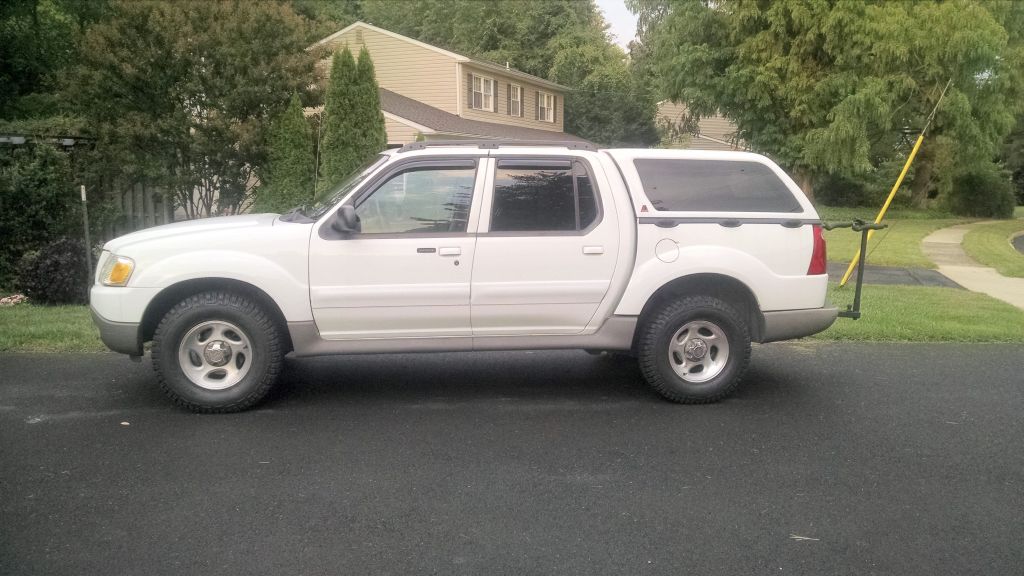
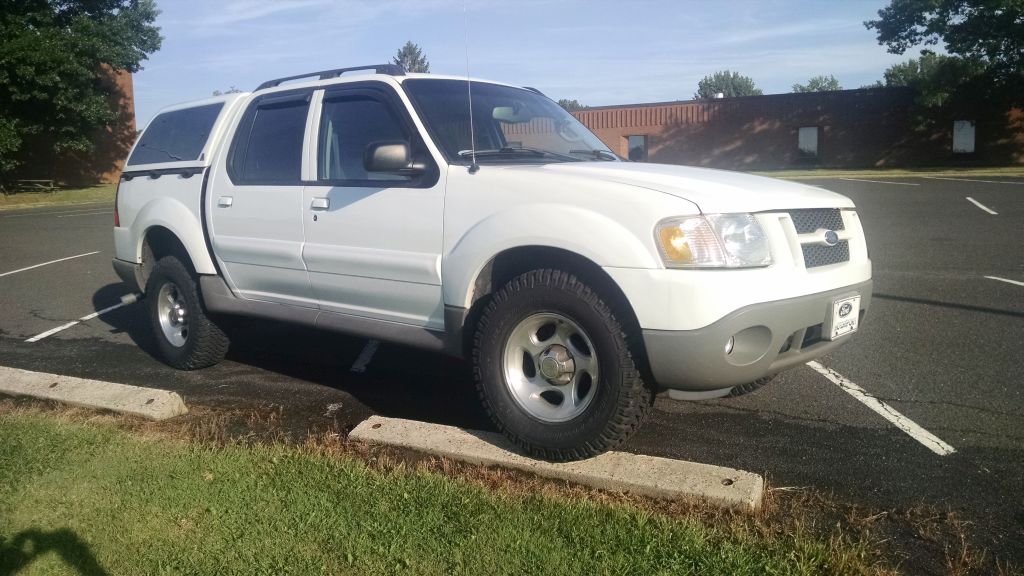
And here is a before shot...

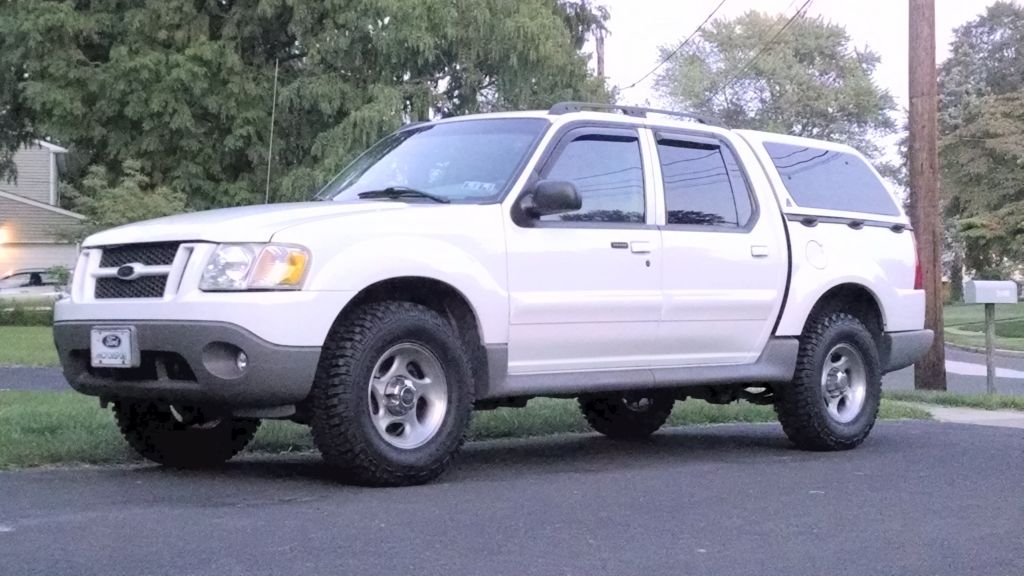
...and after shot...
Loving the tires. Yes they do whine a bit. Especially around 35mph. At higher speeds they quiet down. I don't mind the whine. Windows up - no problem. Dang they make the truck look nice...
Can't wait for the first snowfall...
Let me know what you think. Oh yes, I did change the spare and the 265/70-16 does fit in the spare area no problem. I think I am going to look for another aluminum rim. That way i can rotate the spare and get more mileage out of the set. I'll post the long term aspects on these tires as time goes by. Curious to see how long they last.
I had been reading on various forums about some re-tread tires from a company called TreadWright. They have these nice M/T tires called "Guard Dogs" that have been well reviewed. I was getting tired of the stock 235/70-16 tires. They just don't seem to absorb the bumps in the road. Around me they are doing all sorts of road patch and repair. The uneven road surface and the puny tires were really getting to me.
Time to supersize it. I also think this upcoming "El Nino" event is going to really lay down some snow in the Northeast this year. So I ordered qty 5 of the Guard Dogs in the 265/70-16 size. Load Range D. $90 a tire plus $20 shipping for each tire. I looked at new m/t tires but they would have cost at least $150 a tire + shipping.
However, my original wheels are going on 13 years. They have corrosion spots all over them. So I decided I would refurbish them. My only problem is that my Trac is my daily driver. I can't work on the wheels and drive to work at the same time.
So I got clever. Why not buy a set of used rims off of Craigslist? Refurb those rims, and then mount the new tires. I could then sell my old rims and tires back on Craigslist! That was the plan and it played out beautifully.
I bought a set of four rims for $130 on Craigslist. I actually had to get them a pair at a time from two different sellers. When all was done, I sold my old wheels and tires for $125!
So lets look at what it took to do all of this...
First, Strip the old clear coat from the wheels. Ordinary furniture stripper won't work. You will need two quarts of the "KleanStrip Aircraft Stripper" (I bought from PepBoys). Takes it all off in about 5-7 minutes...
The stripper will also remove all the tar and other gunk from the backside of the rim. Here you can see how bad the original rims looked and some of the remover splashed and removed it.
After stripping, you will have to remove any visible corrosion. I used a small wire wheel on a Dremel tool. All the corrosion was localized where you expect, where the rim weights were mounted and around the "eyes". You want to keep the rotation of the wire wheel "inline" with the machining of the wheel surface. None the less, we still have cut through the natural oxidation of the wheel (which leaves quite an eyesore). We have to deal with this by buffing which follows shortly.
I used Mother's aluminum wheel polish. One bottle purchased from WalMart did all the wheels with plenty left over. Figure about 35 minutes buffing each wheel. Your mileage may vary. I am using a Harbor freight buffer with a wool wheel. Again - keep the rotation "inline" with the original machining. You may have several rinses, inspections, and rebuffs. I took my time and did this after work, over the course of a week. No need to polish the back sides of the wheels.
Rinse the polish off and "Bling". As soon as you do the rinse dry the wheel off with some rags. Otherwise the the raw exposed aluminum will get water spots on it if left to dry on it's own. After they were dry I clear-coated with Duplicolor's wheel clear-coat (also from Pepboys - I think I used three cans).
Remove the tire crud and stuck rubber on the inside of the rim - otherwise they could leak air. It is not recommended to put a wire wheel on a die grinder like this (rpms well exceeded) but it sure makes short work of this job. Always wear safety goggles if you want to play this game!
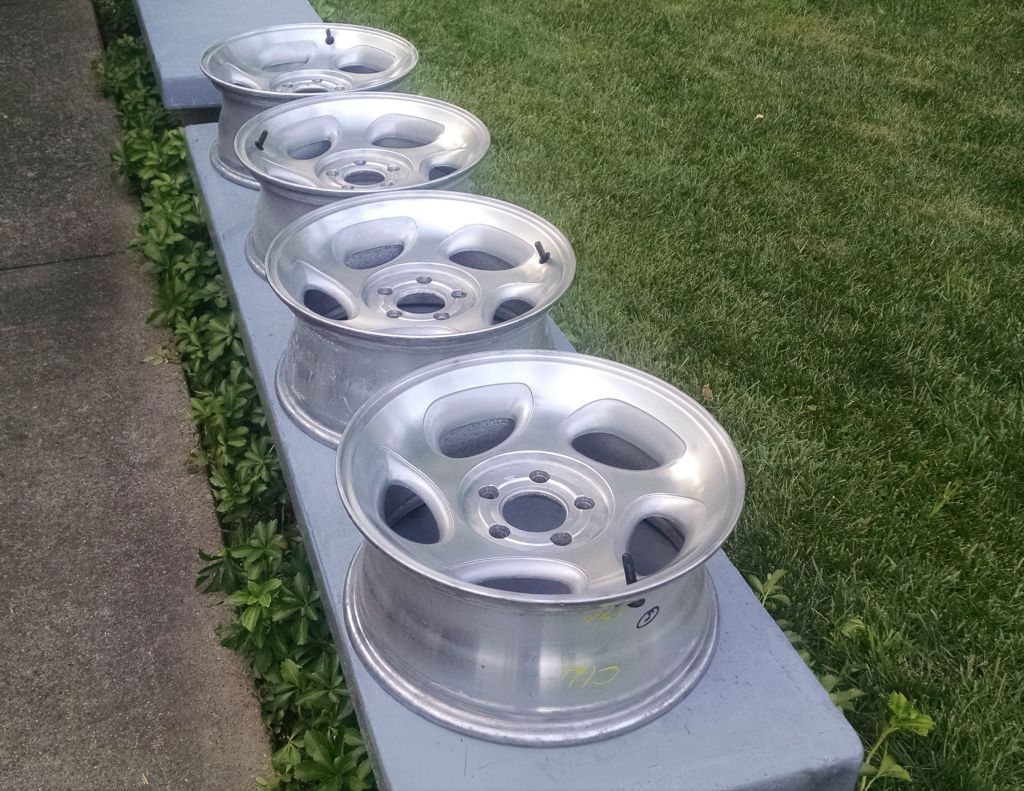
Here's the results. Quite an improvement I would say.
Four wheels ready to go. New valve stems (also from PepBoys) easy to install.
And the Guard Dogs wait impatiently. They are pretty nice. The carcasses are BF GoodRich T/A KOs. The tread depth is almost 3/4 of an inch. The parting line between the tread and the carcass is visible, but if you didn't tell me I would have never known they were re-treads.
And we are really going to super size...
The Guard Dog instructions indicate "Static Balance Only". OK then. I decide to mount and balance the tires myself. I buy the Harbor Freight DIY tire mounter and balancer for $35 and $70 respectfully. Heck - any tire place would have charged at least $60 to mount and balance the tires anyhow - Now I can do it forever. Plus I don't have to listen to their BS about fitting larger sized tires. As it turns out, I need these tools for another vehicle as well (Old sports car with wire wheels). Plus I can use the stick on weights on the inside of the rim. No more scratching the nice rim with the edge weights.
The old tires and wheels get sold away on Craigslist for $125 to an Explorer owner on a budget.
And here is a before shot...
...and after shot...
Loving the tires. Yes they do whine a bit. Especially around 35mph. At higher speeds they quiet down. I don't mind the whine. Windows up - no problem. Dang they make the truck look nice...
Can't wait for the first snowfall...
Let me know what you think. Oh yes, I did change the spare and the 265/70-16 does fit in the spare area no problem. I think I am going to look for another aluminum rim. That way i can rotate the spare and get more mileage out of the set. I'll post the long term aspects on these tires as time goes by. Curious to see how long they last.
Last edited by a moderator: