Ok, post-project update:
1. HUGE thanks again to Yardsale for posting that project (and to Ben Grosser for writing it up in the first place). Made it possible for a relative novice like me to save some cash and pull this off.
2. This job is time consuming (took me about 5 hours), but not technically complicated. So if you're willing to get your hands dirty and have half a day to spare, I definitely recommend doing it vs. spending the extra $$ at a dealership or mechanic.
3. There are a couple of tools listed on the project that I never touched. So if you're looking to skip on purchasing/borrowing some tools, you don't really need:
- slip-lock pliers of any size (I just used regular or needle-nose pliers to squeeze hose clamps)
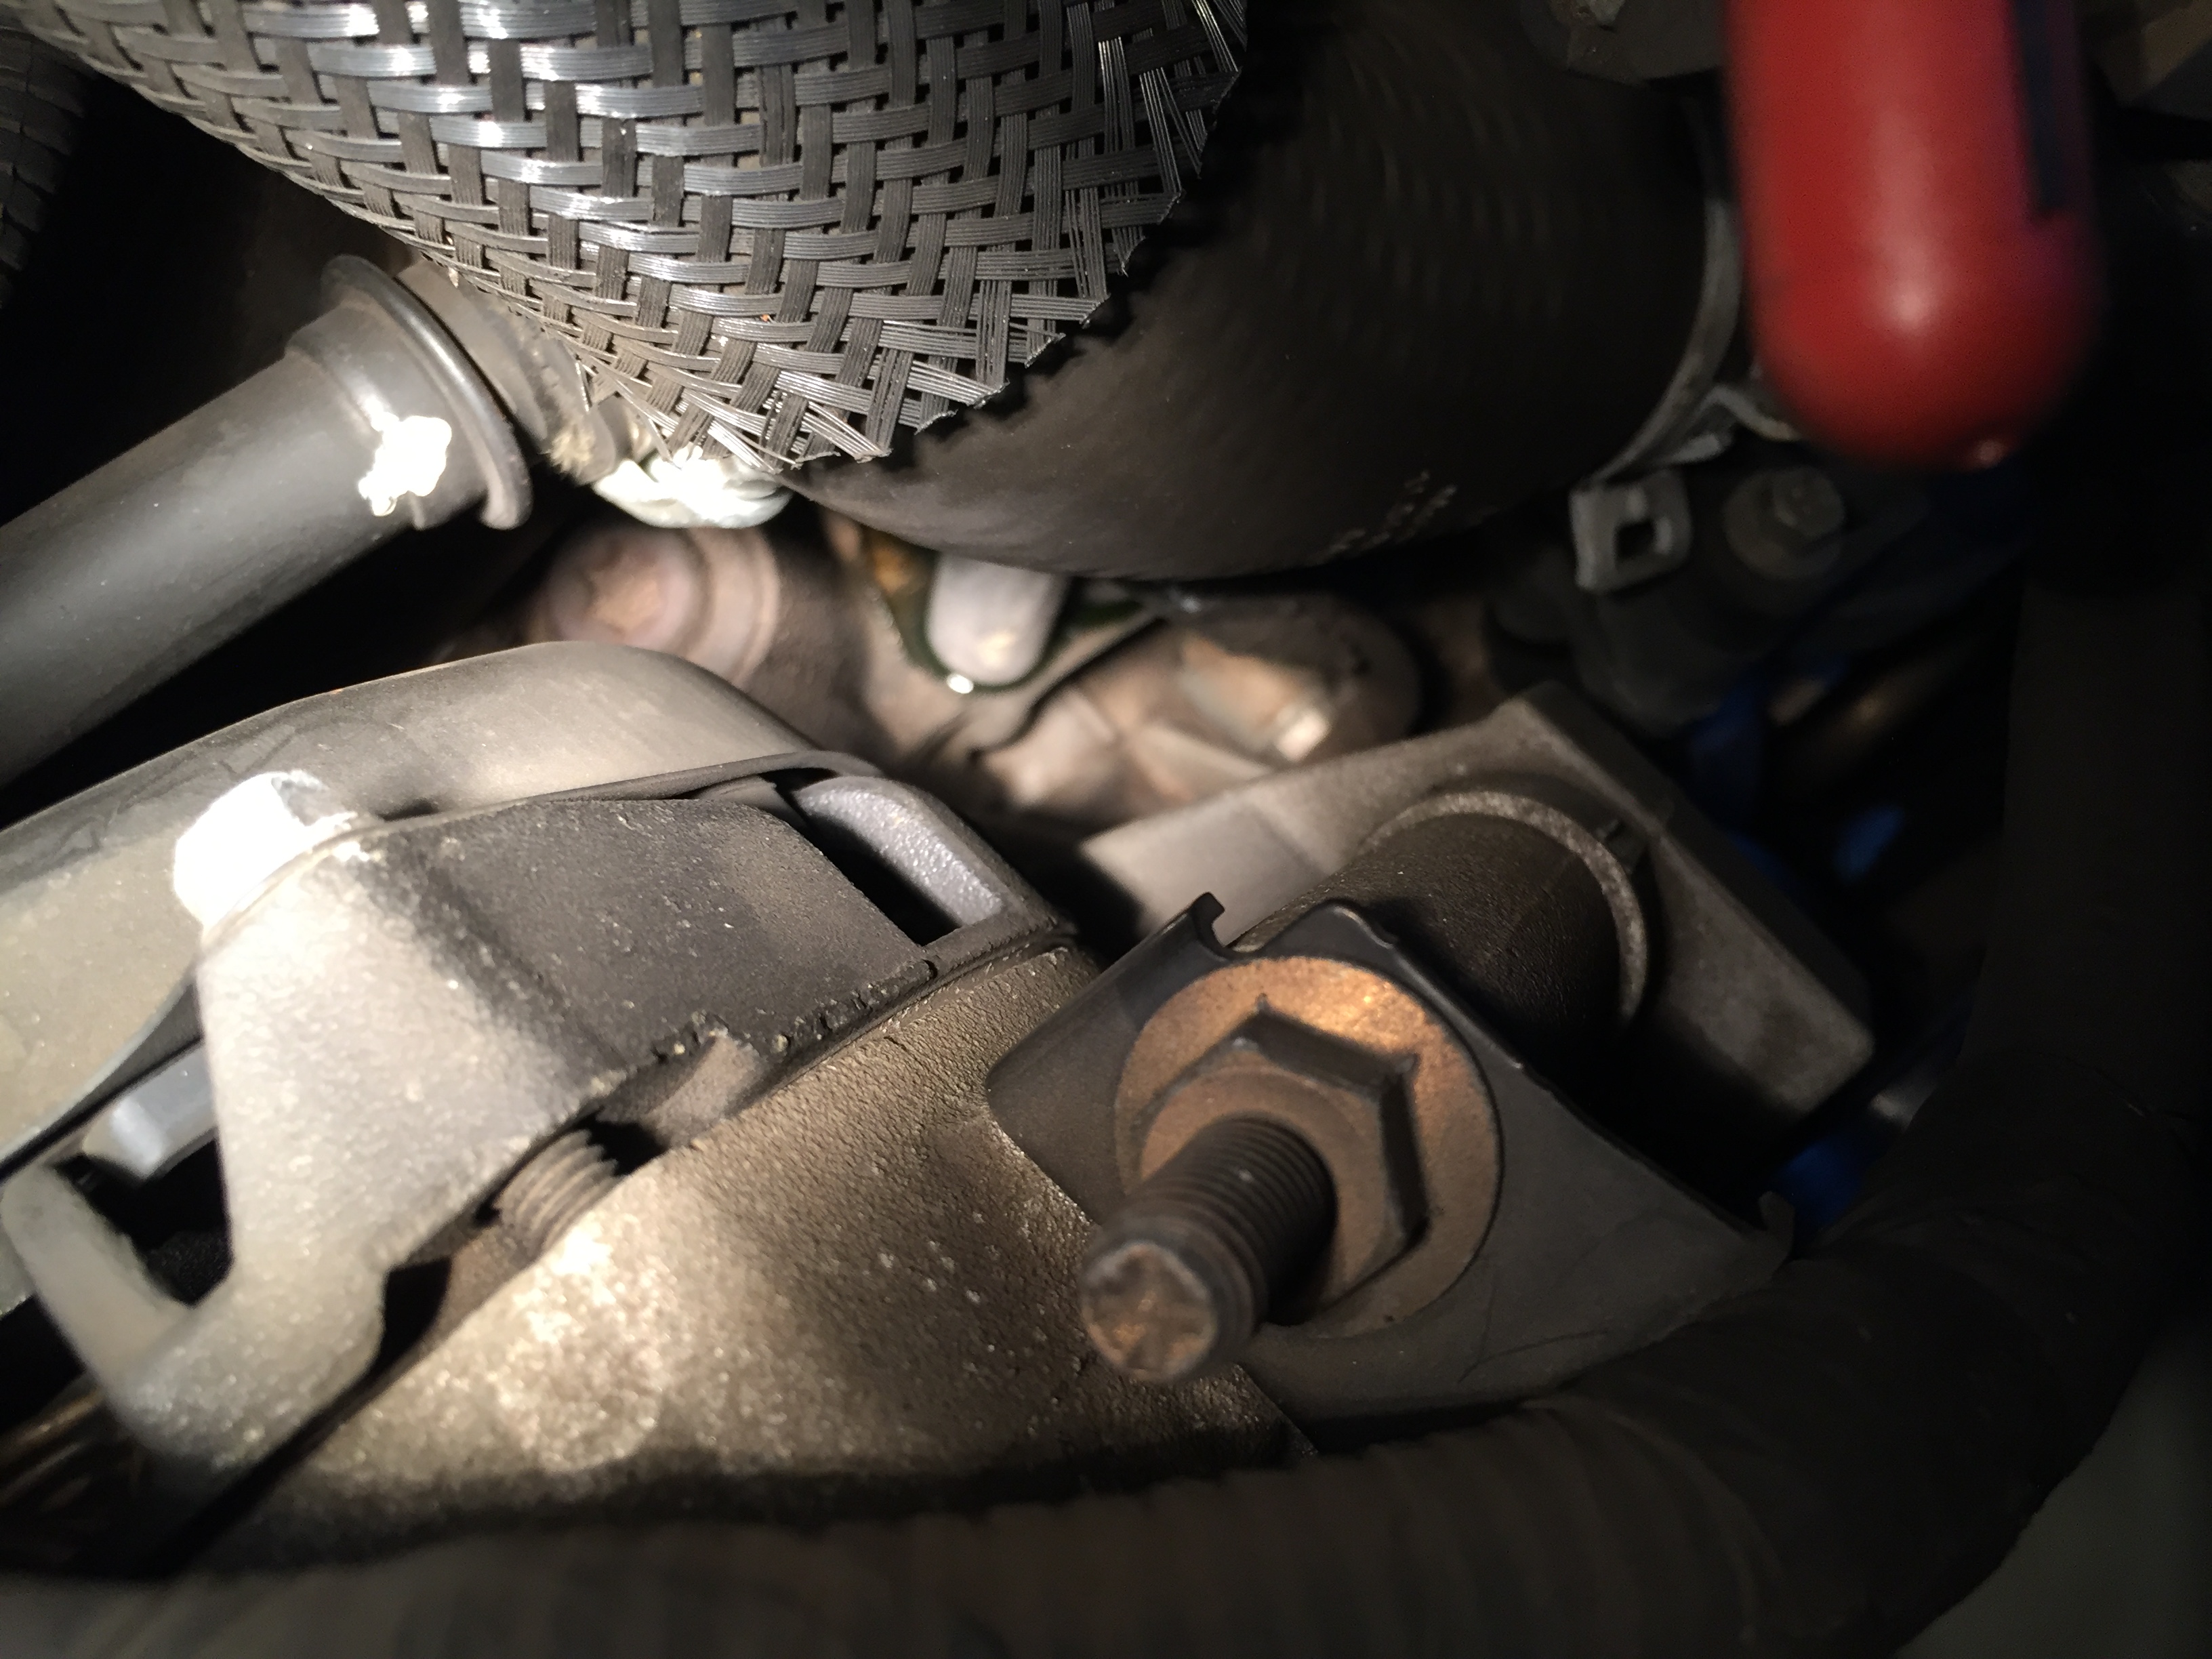
- torque wrench (I just hand-tightened the bolts, then snugged them up with a 8mm wrench. The only point of the torque wrench is to not crack the plastic housing. You're not torquing anything to spec.)
- 8mm deep socket (this was listed as optional, but I'm not even sure what it would help with)
4. On the flip side, DO NOT skip on the 8mm swivel socket (I actually used a 1/4" universal joint with an 8mm socket on it) or the various 1/4" drive extenders (though I didn't have a 12" extender, so got by with using the 6" and 3" together). It would be damn near impossible to reach a few of the bolts without these
5. I mentioned this in an earlier post, but it bears repeating. DON'T buy the thermostat housing replacement "kit" from Ford for around $490. Instead, use the parts list included with the project, which ran me $225 at the dealership. I'm sure you could find the parts cheaper by searching around too, but I wanted mine quick and local since the leak was getting worse and I wanted to be able to return anything easily if it was wrong or unneeded. (I ended up using everything. The crack SEEMED to be between the upper and lower housing, but while I was in there I wanted to swap it all out so I didn't have to ever go back in again.)
6. When you start, your Trac may have a shroud under the front end that obscures the bottom of the radiator and has to be taken off before Step 1 can be accomplished. I looked around for 15-20 minutes trying to figure out where the drain nipple was...until I realized that it was under that shroud. 7 screws and less than 5 minutes later it was easy as pie.
7. In the project, it warns about the small plastic tabs under the bottom housing breaking off. Plan on that happening. I'm not sure how it wouldn't if your Trac is older. The plastic was very brittle and even being careful I broke off two of them and the third was dangling. I used the needle-nose pliers to grab one of them out of the engine and used the length of hose I used to drain the coolant on the end of my Shop Vac to suck out the other.
8. Have some carb cleaner handy to clean off your throttle body while you have it off. Mine was pretty gunky on the back side. A few sprays, a rag and a few q-tips and it's nice and shiny again.
9. Also have enough rags/paper towels to wipe up the gunk that's atop your engine from this leak. I still need to blast mine off with a hose, but I got a lot of it by poking around in there with a rag and wiping a lot of the green/black gunk up.
10. That's it. Take your time. This project isn't hard, but you're working in a very tight space so it all takes patience.